Connect Pixhawk
to Raspberry Pi
How to send data between the flight controller to companion computer?
In our case, we need to send data between Pixhawk to Raspberry Pi.
- Hardware level, wiring the cable
- Software level, set up the Mavlink connection
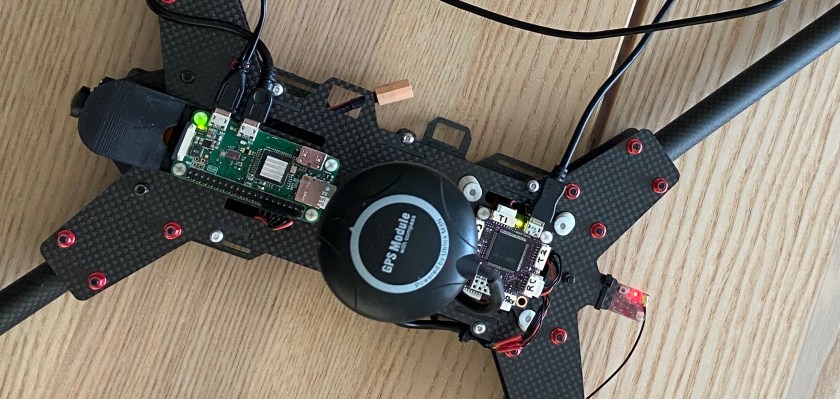
Wiring
Connect Pixhawk to Raspberry Pi as the diagram below. I suggest connecting 5V power source from a BEC board, not from Pixhawk TELEM port. When you connect the 4G USB modem and camera to the Raspberry Pi, the Pixhawk can’t provide enough current to them. The Raspberry Pi will be force restart.


Enabling Serial Console in the Raspberry Pi
The serial console lets Raspberry Pi communicates with the px4. You can check here for how to enable it.
Setup the MAVlink Port in the QGroundControl
We need to tell the flight controller to send the MAVlink data to the connected port. I use QGroundControl to change the parameters.
If you followed the guide above that connected the wire to TELEM 1, the default setting is fine. I changed the SER_TEL1_BAUD to 38400 or below to reduce the bandwidth usage on 4G.
# PX4 parameters:

MAV_0_CONFIG = TELEM 1
MAV_0_MODE = Normal
MAV_0_RATE= 1200 Bytes/s
MAV_0_FORWARD = True
SER_TEL1_BAUD = 38400 baud
If you found any mistake in the document or you have difficulty following the setups, please leave your comments to me. Your comments can help me to improve this article. Thank you!
RC Bellergy
Next: 5. Install and setup mavlink-router
There are setups with Radio + 4G modem. They use 2x Telemetry ports on the PixHawk compat flight controllers. Some thoughts on such setup would be useful, especially what happens when both connections are connected and when one of them goes down, e.g. no ‘alives’ received.
Hi, can you please tell where can we make such schematic connecting drone, Pixhawk and Raspberry pi?